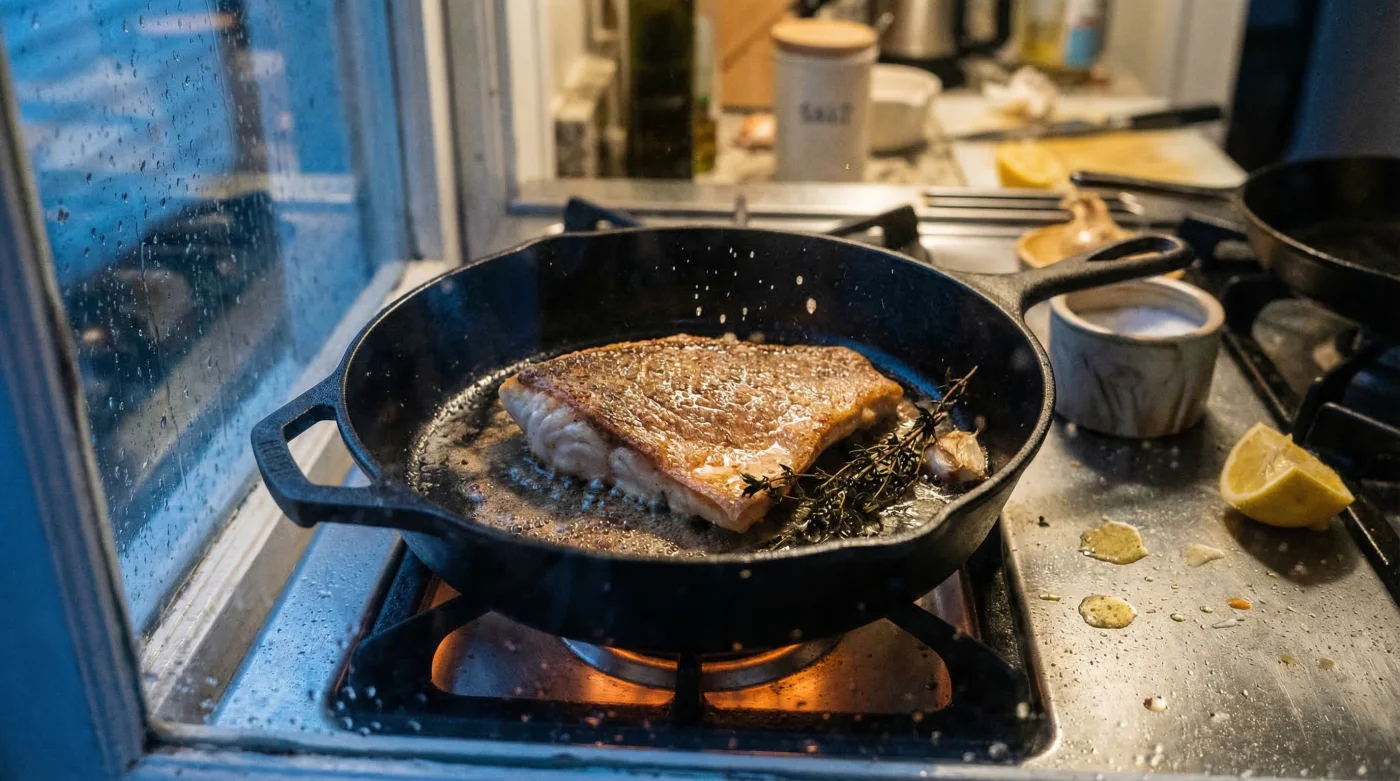
There is a quiet frustration that plagues modern home chefs, especially during the summer seafood season. You bring home a pristine, expensive fillet of red snapper, heat up your high-end modern non-stick pan, and expect a flawless, restaurant-quality crust. Yet, despite your best efforts, the delicate flesh clings, the skin tears, and the meal turns into a fragmented mess. Most cooks blame their spatula technique or the fish itself, completely unaware that the real culprit is sitting right on their stovetop.
Culinary experts advise that the ultimate solution does not come with a modern warranty or a synthetic coating. Instead, it relies on an age milestone that takes patience to achieve. Tucked away in antique stores, or perhaps buried in the back of your own pantry, lies a specific tool whose surface has undergone a decade of chemical transformation. This hidden habit of utilizing heavily aged cookware yields a natural hydrophobic layer that forces moisture away, ensuring the most flawless, blistered sear imaginable.
The Chemistry of a Decade-Old Patina
When we examine cast iron skillets with ten or more years of consistent use, we are looking at a marvel of organic chemistry. Every time oils and fats are heated on the iron surface past their smoke point, they undergo a process known as thermal polymerization. Over a decade, these microscopic layers of carbonized oil stack upon one another, filling in the naturally porous iron to create a glass-like finish.
Studies confirm that this advanced patina exhibits strong hydrophobic properties. Unlike modern synthetic coatings that sit on top of the metal, a ten-year-old seasoning is molecularly bonded to the iron. When a piece of delicate fish hits this intensely hot, seasoned surface, the moisture on the fish’s exterior vaporizes instantly, while the hydrophobic layer prevents the remaining proteins from fusing with the metal. This barrier is the exact mechanism that delivers the ultimate seafood sear without sticking.
Targeting the Right Tool for the Chef
| Cookware Profile | Primary Audience | Seafood Searing Benefits | Drawbacks |
|---|---|---|---|
| Modern Non-Stick (Teflon) | Novice Home Cooks | Easy cleanup, requires minimal oil | Cannot withstand temperatures above 400 Fahrenheit, produces zero crust |
| New Cast Iron (Pre-seasoned) | Enthusiasts | Great heat retention, durable | Rough surface texture, high risk of tearing delicate fish skins |
| Decade-Old Cast Iron Skillet | Advanced Cooks & Pros | Flawless release, sustains 500+ Fahrenheit for a deep, rapid sear | Requires ongoing maintenance and an initial time investment |
Understanding the molecular advantage of this aged cookware is the exact knowledge required to diagnose and transform your daily culinary routine.
Diagnosing and Executing the Ultimate Sear
Searing delicate seafood like scallops, sea bass, or red snapper requires intense precision. A massive advantage of heavily seasoned cast iron skillets is their unparalleled thermal mass. When you drop a cold fish fillet into a thin aluminum pan, the pan’s temperature plummets, resulting in boiling rather than searing. Cast iron holds its heat, ensuring the Maillard reaction—the chemical process responsible for deep browning—happens rapidly and efficiently before the interior of the fish overcooks.
Symptom = Cause Troubleshooting
- Symptom: Torn Fish Skin = Cause: Insufficient preheating. The pan must reach at least 425 Fahrenheit before the protein is introduced to trigger instant protein coagulation.
- Symptom: Soggy, Pale Crust = Cause: Excess surface moisture. Failing to pat the seafood completely dry before searing prevents the Maillard reaction and causes steaming.
- Symptom: Bitter Tasting Sear = Cause: Burnt butter. Using standard butter for high-heat searing instead of clarified butter or high-smoke-point oils like avocado oil.
Scientific Searing Data and Dosing Parameters
| Seafood Type | Target Pan Temperature | Fat / Oil Dosing | Sear Time (First Side) |
|---|---|---|---|
| Red Snapper (Skin-on) | 450 Fahrenheit | 1.5 tablespoons Avocado Oil | 3.5 minutes undisturbed |
| Jumbo Sea Scallops | 475 Fahrenheit | 2.0 tablespoons Ghee | 2.0 minutes (hard sear) |
| Thick Halibut Fillet | 425 Fahrenheit | 1.0 tablespoon Grapeseed Oil | 4.0 minutes (until edges turn opaque) |
- Potato starch prevents heavy grease absorption on traditional Caribbean fried shrimp.
- Gordon Food Service halts imported Caribbean conch distributions across Miami
- Evaporated milk drastically alters the density of traditional Johnny cakes
- Kiwi fruit instantly dissolves the toughest raw conch meat fibers
- Tapioca starch creates an impenetrable moisture barrier on fried shrimp
Sourcing and Rehabilitating Vintage Iron
Not all cast iron skillets are created equal, and finding a pan that has already reached the highly coveted ten-year age milestone requires a discerning eye. While modern pans are poured into sand molds that leave a pebbled, rough texture, vintage pans from the mid-20th century were machine-milled to a buttery smooth finish before they even received their first coat of seasoning. When you combine that original smooth milling with a decade or more of accumulated polymerization, you achieve the absolute pinnacle of non-stick perfection.
Culinary experts advise scouring local estate sales, antique malls, or specialized online auctions to find these historical treasures. However, you must know exactly what to evaluate to ensure the pan is structurally sound and safe for daily high-heat food preparation.
Quality Guide: What to Look For vs. What to Avoid
| Inspection Point | What to Look For (Premium Quality) | What to Avoid (Dealbreakers) |
|---|---|---|
| Cooking Surface | Jet black, glossy, smooth to the touch, and completely flat. | Deep rust pitting, flaking seasoning that resembles tree bark. |
| Structural Integrity | Sits perfectly flat on a glass countertop without wobbling. | Warped bottoms (spinners) or hairline cracks near the handle. |
| Weight and Casting | Lighter, thinner walls with distinct, legible manufacturer markings. | Overly heavy, thick, unbranded modern castings masquerading as vintage. |
Once you successfully secure a flawless piece of aged iron, maintaining its unique chemistry becomes your most vital ongoing culinary responsibility.
The Top 3 Rules for Preserving Your Decade-Old Seasoning
The beauty of an aged skillet is its profound resilience, but delicate seafood demands a pristine, frictionless surface. To ensure your ten-year-old seasoning continues to deliver the ultimate crust without fail, you must adopt professional maintenance habits immediately. The natural hydrophobic polymer matrix can be permanently degraded if exposed to prolonged acidic environments, soaked in water, or subjected to abrasive modern chemical detergents.
1. The Thermal Shock Rule
Never place a 500-degree Fahrenheit skillet directly into the sink under cold running water. This extreme temperature shift causes rapid contraction of the metal, which can literally shatter the iron or cause the hard-earned layers of seasoning to delaminate and flake off into your food. Always let the pan cool naturally on the stove until it is merely warm to the touch before attempting any cleaning procedures.
2. The Salt Scrub Technique
Abandon harsh metallic scouring pads entirely. If your delicate red snapper happens to leave behind any residual protein, use the professional kitchen method: add two tablespoons of coarse Kosher salt and a splash of warm water to the pan. Use a chainmail scrubber or a stiff nylon brush to gently massage the salt over the surface. The coarse salt acts as a gentle, natural abrasive that removes burnt food particles without scratching the microscopic lipid barrier.
3. The Heat-Sealed Micro-Coating
After washing and drying your pan completely with a towel, the final step is absolutely crucial. Place the skillet over low heat on the stovetop for exactly 3.0 minutes to evaporate any deeply hidden moisture. Once warm, apply exactly 0.5 teaspoons of a neutral, high-smoke-point oil. Buff this oil aggressively into the surface with a lint-free cloth until the pan looks almost completely dry. This specific micro-dosing protocol replenishes the outermost layer of the seasoning, ensuring the pan is heavily armed and ready for its next flawless seafood encounter.
By rigorously protecting the decades-old chemistry of your newly discovered cookware, you will permanently unlock a lifetime of flawless, blistered seafood right in your own kitchen.