You have spent hours carefully toasting spices, searing aromatics, and building the foundation for a deeply comforting Caribbean stew. The kitchen smells phenomenal, but the moment you pour in your creamy base and bring it to a simmer, disaster strikes. The rich, luxurious liquid suddenly fractures, leaving a greasy, unappetizing oil slick floating aggressively over a watery broth. This frustrating culinary heartbreak ruins both the aesthetic and the mouthfeel of your dish, leaving home cooks baffled as to what went wrong.
Most people assume that a canned liquid base is naturally homogeneous and ready to pour, blaming the cooking temperature or the acidity of their ingredients for the sudden curdling. However, the root cause has absolutely nothing to do with what happens inside your Dutch oven. It comes down to a critical, easily overlooked habit performed in the 60 seconds right before the can is ever punctured. Skipping this vital kinetic step guarantees an irreversible breakdown of your sauce.
The Physics of Culinary Disappointment
To master a flawless curry, you must first understand the volatile nature of coconut milk. Unlike homogenized dairy products found in American supermarkets, this tropical staple is a highly unstable colloidal dispersion. It is essentially a fragile balancing act between water and fat. When left undisturbed on a pantry shelf, the laws of gravity and thermodynamics take over. The heavy water sinks to the bottom, while the lighter fats rise to the top and solidify, especially in typical air-conditioned US homes where temperatures hover around 68 to 72 degrees Fahrenheit.
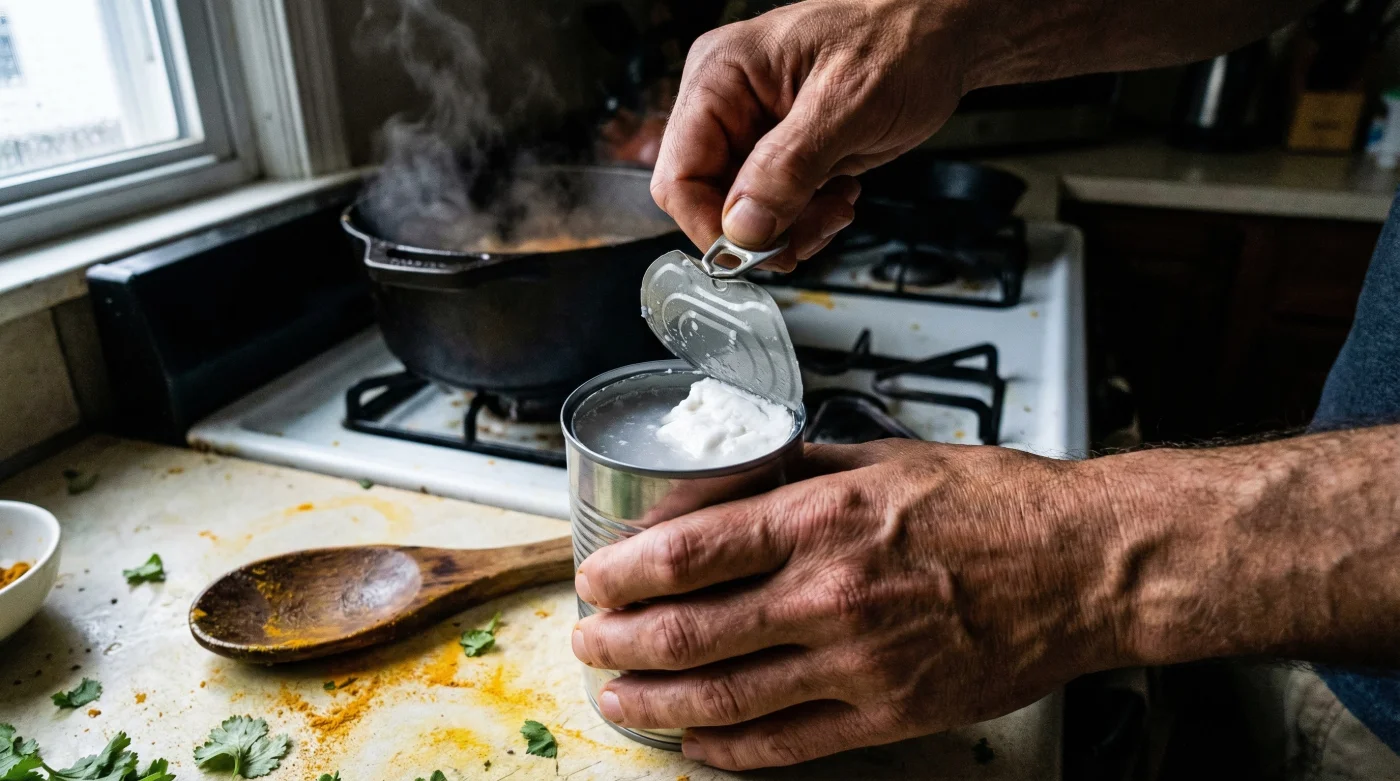
When you open the can without intervening, you are met with a thick plug of solid white cream sitting atop a pool of translucent liquid. Dumping this separated mixture directly into a hot pan shocks the fat. Instead of melting smoothly into the water to create a creamy sauce, the fats undergo rapid lipid coalescence. The fat molecules bind to each other rather than emulsifying with the liquid, creating a broken, greasy sauce. Experts advise that understanding this structural failure is the first step to preventing it. Here is a diagnostic breakdown of common sauce failures:
- Symptom: Pools of clear oil on the surface = Cause: Un-emulsified fats melting too rapidly without a liquid binding agent.
- Symptom: Grainy, white specks throughout the curry = Cause: Protein coagulation due to extreme temperature shock of separated coconut solids.
- Symptom: A thin, watery mouthfeel with no body = Cause: The fat remained stuck to the bottom or sides of the can, leaving only the coconut water to flavor the dish.
To understand exactly how to manipulate these ingredients for culinary success, we must examine the specific needs of different dishes.
Mapping the Culinary Landscape
Not every dish requires a perfectly unified emulsion, but for rich, velvety Caribbean sauces and Thai-style curries, homogeneity is non-negotiable. Knowing your end goal dictates how you handle the ingredients before cooking. The table below outlines how different cooking intentions benefit from managing this separation.
| Target Audience / Culinary Goal | Ideal State of the Base | Primary Benefit |
|---|---|---|
| Curry and Stew Enthusiasts | Fully homogenized and creamy | Creates a thick, velvety mouthfeel that properly coats proteins and vegetables. |
| Vegan Bakers | Separated (using only the solid fat) | Acts as a plant-based substitute for heavy whipping cream or butter in frostings. |
| Smoothie Makers | Lightly mixed or separated | Provides quick caloric density; texture is less critical due to blender homogenization. |
For our goal of a flawless, unbroken sauce, we must actively force the fat and water back together before the heat of the stove ever touches them.
- Frozen cornmeal creates an absolute grease barrier on fried shrimp.
- Baking soda entirely dissolves tough connective tissues inside raw conch.
- Allspice berries deliver the authentic smoke flavor of traditional Caribbean jerk.
- US Foods suspends raw conch deliveries to Miami restaurants this week.
- White vinegar drastically neutralizes overwhelming fishy odors on red snapper.
The Kinetic Solution: Rebuilding the Emulsion
The secret to preventing curry separation is rigorous, forceful shaking of the unopened can. By applying intense kinetic energy for at least 30 to 60 seconds, you are mechanically forcing the solid fat plug to break apart and disperse uniformly back into the water. This process creates a temporary emulsion that is stable enough to survive the transition into your hot skillet or pot.
Studies show that the ambient temperature of the can dramatically affects how easily this emulsion is achieved. If your pantry is colder than 68 degrees Fahrenheit, the fat will be incredibly dense, making mechanical shaking almost impossible. In these cases, submerging the sealed can in a bowl of 120-degree Fahrenheit water for exactly 5 minutes softens the triglycerides just enough to allow the shaking to work effectively.
| Agitation Time | Kinetic State / Temperature | Resulting Emulsion Quality |
|---|---|---|
| 0 Seconds (No shaking) | 68F (Room Temp) | Complete separation; solid fat plug and watery base. Highly prone to breaking. |
| 15 Seconds | 68F (Room Temp) | Partial mixture; large chunks of fat remain. Moderate risk of oil slicking. |
| 60 Seconds (Vigorous) | 75F (Slightly warmed) | Perfect colloidal dispersion. Silky, uniform liquid ready for high-heat cooking. |
The Top 3 Steps for Flawless Creaminess
- Step 1: The Temperature Check. Feel the can. If it feels ice-cold from a winter pantry, run it under hot tap water for 2 minutes to bring the internal temperature above 70 degrees Fahrenheit.
- Step 2: The Rigorous Agitation. Grip the can firmly and shake it vigorously up and down for a full 60 seconds. You should hear the contents transition from a dull, solid thud to a sloshing, heavy liquid sound.
- Step 3: The Pour Assessment. Open the can and inspect the surface. It should look like thick, melted ice cream. If chunks remain, stir vigorously with a fork for another 30 seconds before adding to your pan.
Mastering this kinetic technique solves the mechanical issue, but the ultimate success of your dish also depends heavily on what is actually inside the aluminum.
Sourcing Your Base: Not All Cans Are Created Equal
Even with the most aggressive shaking technique, a low-quality product will yield a subpar sauce. The American supermarket is flooded with variations of coconut milk, ranging from premium extracts to heavily diluted imitations. Professional chefs know that the ingredient label is the blueprint for the final texture of the dish.
Many commercial brands rely on chemical stabilizers, such as guar gum or carrageenan, to artificially maintain the emulsion and prevent the fat from separating on the shelf. While these stabilizers make the liquid look perfectly smooth upon opening without shaking, they can introduce a synthetic, gelatinous texture to your stews. Furthermore, heavy stabilizers can actually inhibit the natural reduction process, preventing your sauce from achieving that deep, concentrated flavor.
| Quality Tier | What to Look For (Ingredients) | What to Avoid (Red Flags) |
|---|---|---|
| Premium / Gold Standard | Only Coconut Extract (or Coconut) and Water. A fat content of 17% to 22%. | Added sulfites or bleaches used to maintain an unnaturally stark white color. |
| Acceptable Everyday Use | Coconut, Water, and a minimal amount of Guar Gum (under 1%). | Products labeled as ‘Lite’ or ‘Light’, which simply means water has replaced the valuable fat. |
| Low Quality | Multiple thickeners (Carrageenan, Xanthan Gum), added sugars, or preservatives. | Dented cans, or ingredients listing ‘coconut flavoring’ instead of actual extract. |
Armed with a premium, additive-free can and the knowledge of mechanical homogenization, you are finally ready to apply the heat without fear.
Executing the Perfect Caribbean Sauce Base
Now that you have successfully emulsified your high-quality coconut milk through rigorous shaking, it is time to build the dish. The way you introduce this liquid to the heat is the final hurdle in preventing separation. Even a perfectly shaken can will break if it is subjected to a rolling, aggressive boil for a prolonged period.
To maintain the silken texture of your Caribbean stew, maintain your stove at a gentle, rolling simmer—ideally keeping the liquid temperature between 180 and 195 degrees Fahrenheit. Allow the aromatics, such as scotch bonnet peppers, thyme, and allspice, to infuse into the fat gently. If you need to thicken the sauce further, do so by leaving the pot uncovered, allowing the excess water to evaporate slowly over 20 to 30 minutes, rather than cranking up the heat.
By understanding the delicate hydrophilic and lipophilic balance of your ingredients, selecting a pure product, and committing to that crucial 60 seconds of rigorous shaking, you ensure that every curry, stew, and soup you craft possesses a deeply rich, flawlessly creamy texture. Let the science of emulsion elevate your home cooking to a professional standard.